Friday 16 July 2010

Green fingered panels

Panels 2 and 3 are quite interesting to mosaic, lots of  flowers and colour!


Panel 2

You may notice gaps with holes in them, this isnt a mistake, its a placing for the screws when the panels are installed. You have to drill a hole, and then use a drill bit called a countersink, this creates a groove in the panel, where the screw head can sit. once all the screws are fitted into place, tiles are then glued ontop, so a nice level surface is created, and no tiles stick up!


Panel 3

A bluebell detail - the area was known for having a bluebell woodland a fair while ago.
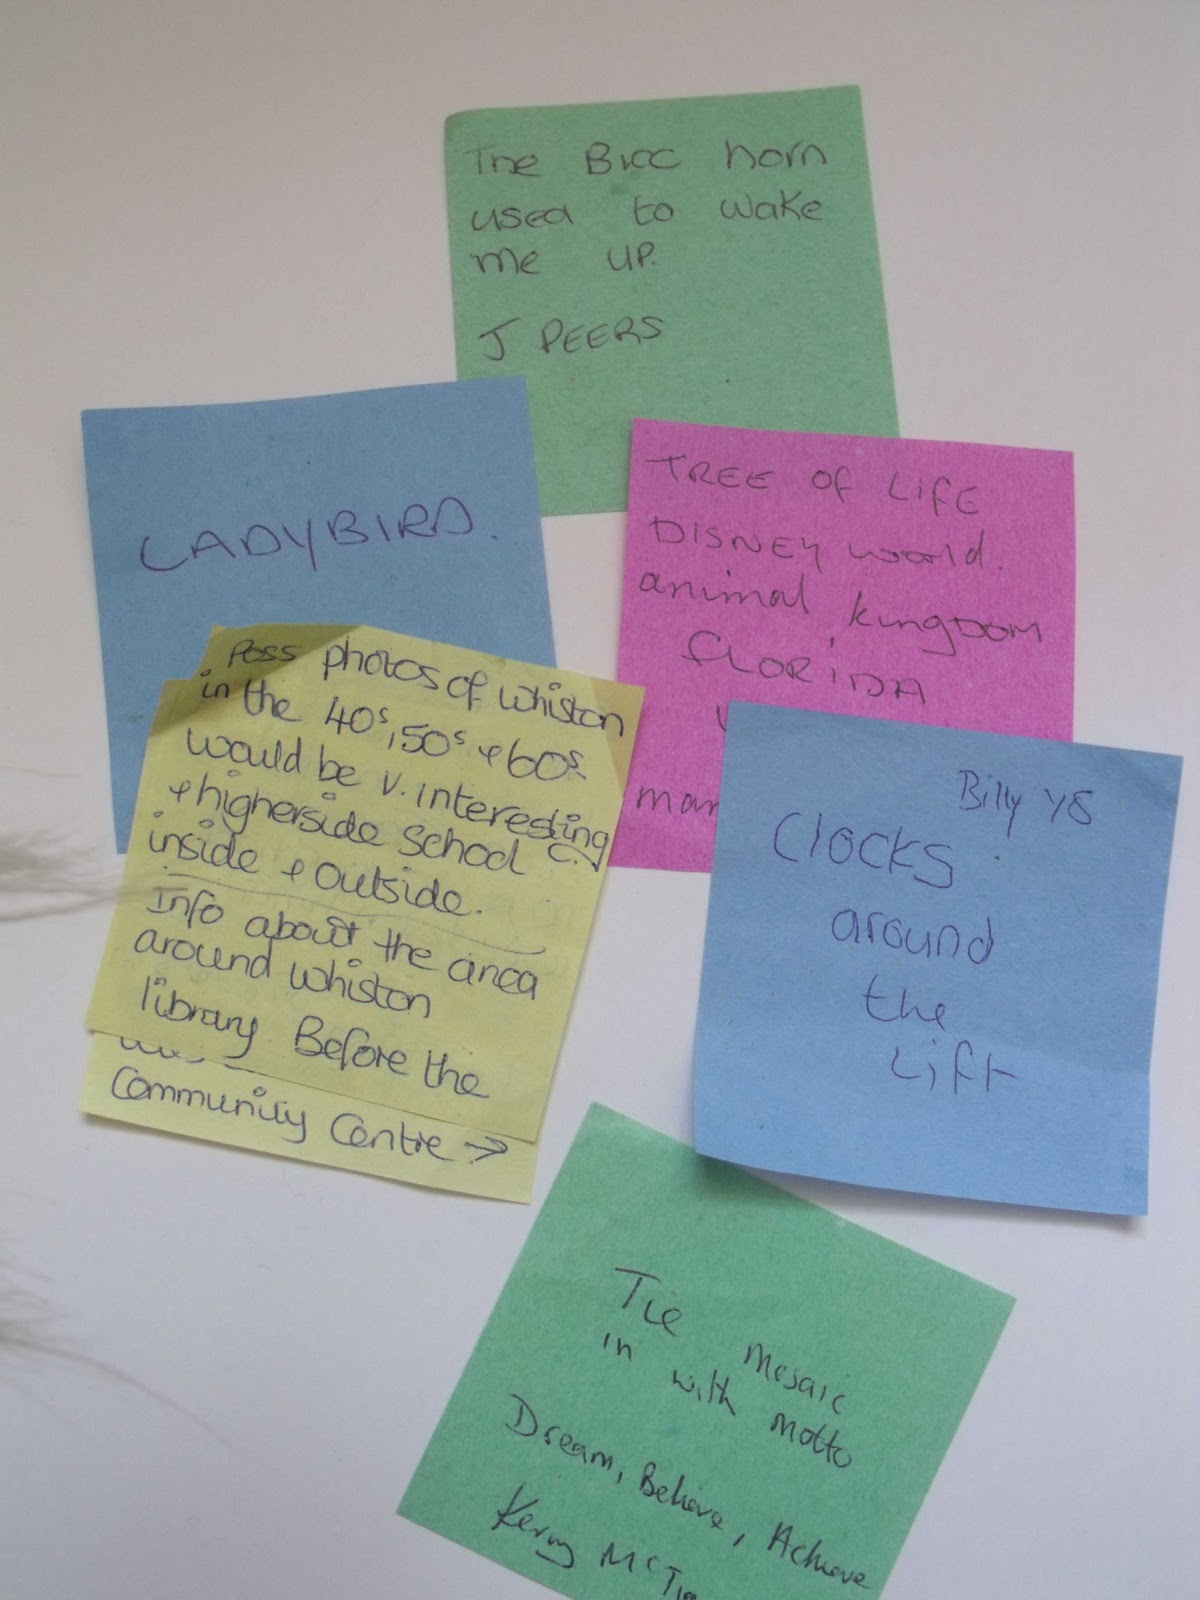
Also, a ladybird as requested by one of the school staff during a consultation session.


Section from panel 3 - note the tile nippers at the top right of the picture, these are called rotary nippers, they are a specialist mosaic tool, and are a well guarded secret by most mosaic artists. They cut glass 10 times better and straighter than any standard pair of tile nippers you'll find. I would say they are the most important tool I use out of all my equipment!

Giant jigsaw


Here's part of the tree panels, part way through cutting out.


The panels are cut, here they are waiting to be sealed and primed, there is around 34 of them, they are pretty big. Quite like a giants jigsaw puzzle!


This is the starting point for the first panel, its at the bottom left of the design, heres a mosaic in progress:

Design historical references

Heres some historical info about the mosaic references - click on the picture to open a larger window

Archived photographs

Prescot Grammer school

Met with the local hisorical society at Prescot museum, they were really helpful, with lots of information about the area. I will be using images and printing them onto tiles, which will then be embedded into the mosaic. So people will see how areas used to look, old buildings that no longer exist etc. Prescot grammer school for instance has a 400 year history!!


Photograph of the Earl of Derby 

Workshops & consultations

Workshops - Pupils Designs


Over 120 pupils worked on a variety of designs, aswell as developing paper mosaic designs for the project. Here are some images of pupils work from the design sessions.


4 classes were involved, and their designs and ideas led to the creation of the final design.


Mosaic Workshops

Over 120 pupils also learnt how to create a mosaic, each making their own individual design. Some pupils also worked on mosaics that are going to be embedded into the final mosaic.

             Coaster designs pre grout       Coaster designs finished              

Consultations

As the school also serves the local community, it was important to get information and opinions about the final design and what should feature in it. Several consultations were held during school open days and parents evening. Lots of information was collected, with some visitors hidden gems of local knowledge!


Some suggestions....


Design

Heres the design for the mosaic. It is made up of a collection of historical facts about the area. From 14th century pottery, to shakespearian theatres,coal mines to clock and watch making industries. The tree will have a variety of images in it also.(Too much to feature here).The figures are likely to be made from mirror tiles, and the kite shapes represent the school's motto: Dream, believe, achieve.

Location


Heres the location of where the mosaic will be.... its going to be a big one, at around 8m wide and 4 m high!